Now, before we start let’s check what we want to do and our network topology:
XXXXX INSERT IMAGE XXXXX
So let’s do it step by step:
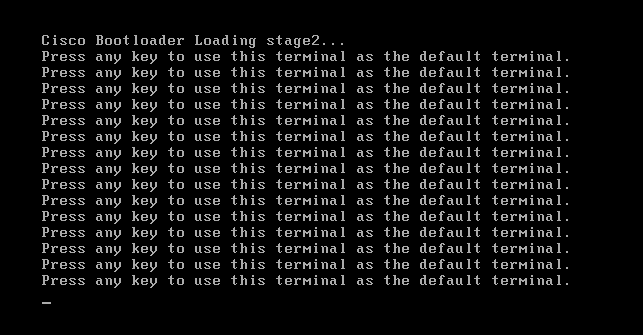
Please do it 🙂 , my cup of coffee was empty and meanwhile the vWLC stuck in this :(. Restart….It then looks like this 😉
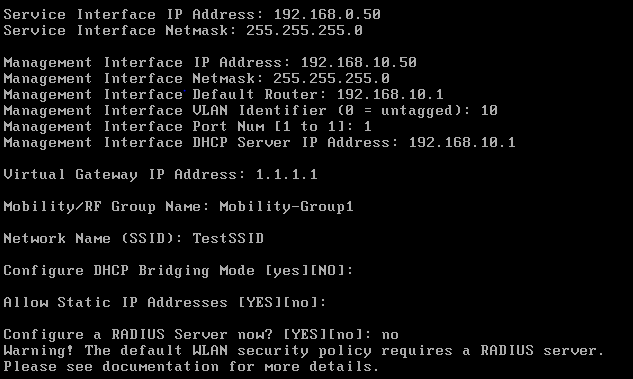
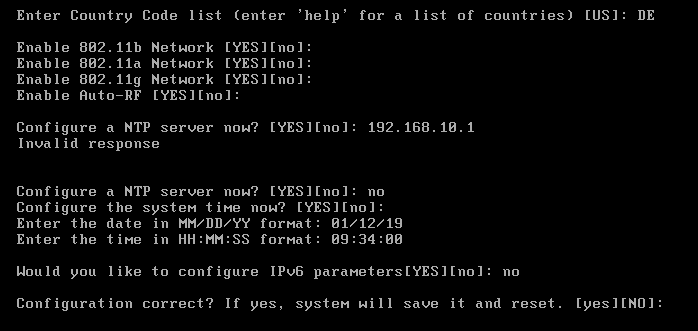
The commands in the brackets are the presets, with enter you can acknowledge them are type „no“ and YES we like to cancel the autoinstall. Next the hostname is wanted, but do not be confused, the lines have slipped. Choose your name for login into the WLC…and set a password. Don’t use „Cisco“ and it need upper and lower case including digits. For this lab I use „Password123“ The Service-Interface is the dedicated interface only accessible for us as administrator, the management interface is also needed for the APs to connect and for the WLC to later drop out the traffic from the wireless clients. The virtual gateway IP is an internal address, needed if we want to roam between APs that are located on different WLCs, therefore the Mobility Group is also needed. Then enter the SSID of our first wireless network. We dont‘ want to bridge DHCP, allow static IPs at our clients and don’t need a RADIUS right now.Then we need the country code, this is important because as we learned earlier, there are regulations and you must use the frequencys that are allowed in your country. Next we enable the use of the different networks(/b/a/g) and use Auto-RF for optimization.. As you see, my NTP is not working, so I configure the time manually. No IPv6 at this time and we’re DONE.
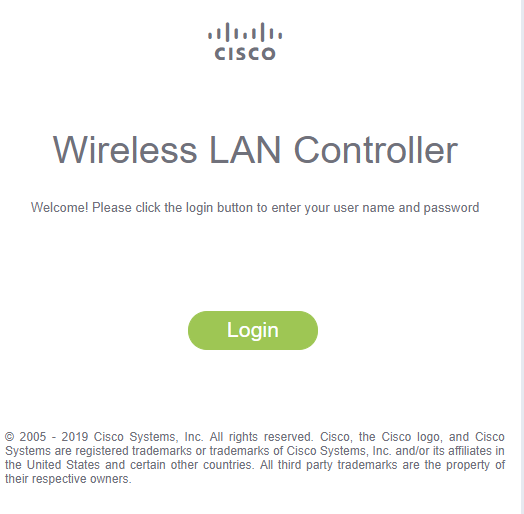
After reloading you see something like this.Now you can connect to the server-port IP via HTTPS and login with the user/pass you configured before.
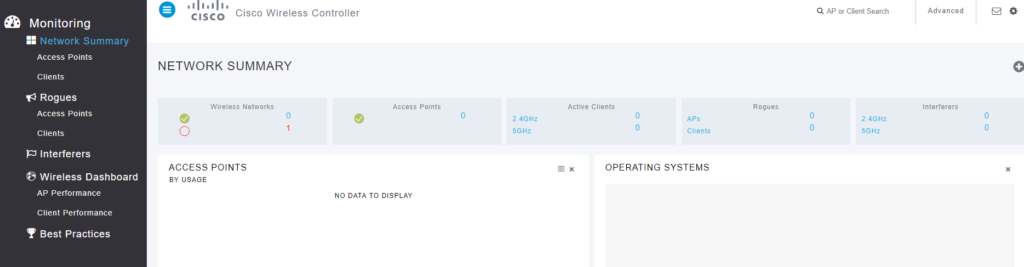
Now you’re at the „new“ monitoring homepage of the fresh deployed vWLC. Somewhere in WLC version 7.X it’s getting accessible via a FUS-update. This page helps you to get an fast overview of your network and the status. To get into the normal configuration mode you need to click „Advanced“ in the upper right of the screen.
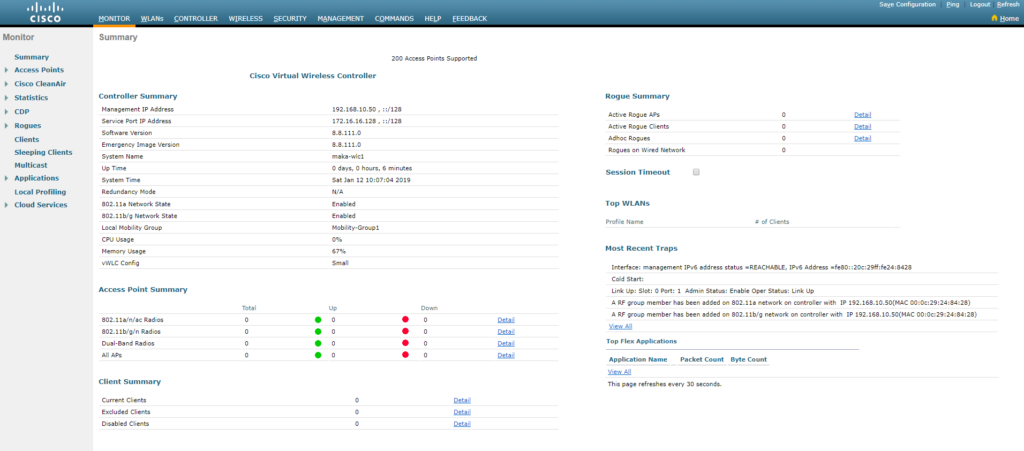
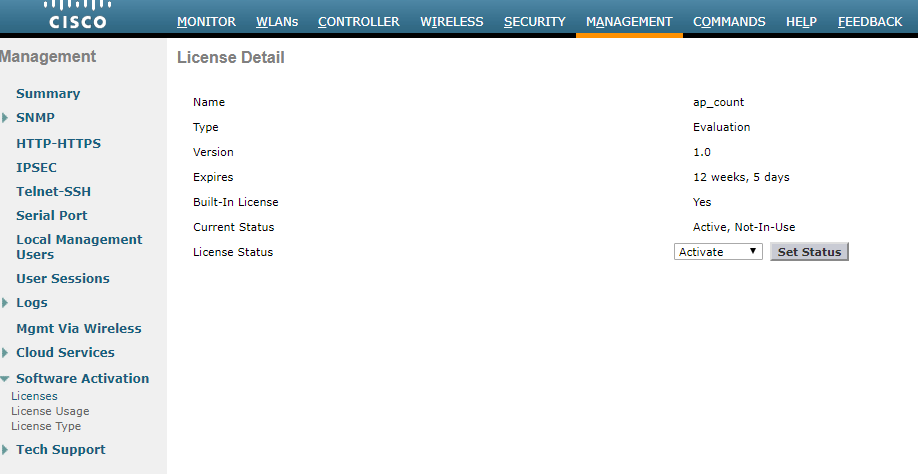
Finish. Your’re done 🙂 The evaluation license is automatically active and running.
In order to get your APs automatically registered at the WLC you could run a DHCP in the APs subnet with the DHCP-option 43 including the IP-address of the WLC data-port.